Have you ever considered prepping and creating your own flowers for a more elevated look?
Listen, how about adding to your elopement experience with a bouquet made by yours truly? I kid not. In my years of creating content and always needing to have fresh photos…I started playing with flowers. I learned that Trader Joes has AMAZING flowers that are for purchase just like you get your cheese. (Lots of variety and plenty of it. 🙂 I started grabbing different bunches, mixed up colors, watched a couple of youtube videos and bam. I had my very own bouquets for my eloping brides or styled shoots. I’ve made countless bouquets…and you can too!
Where do you start? Let’s get to it!
- Do you have a favorite floral or color? Consider the time of year as well as your backdrop of where t you are eloping and what types of flowers are in season. Personally, I LOVE hydrangeas which bloom in spring, summer and rebloom in early fall. This beautiful elopement happened in the summer and I went with a tropical feeling, adding foliage that felt like you could have pulled it from a scene out of a Hawaiian backdrop. The lime green popped off of Dylan’s suit and the cream/oranges complimented the opposite of the color wheel.


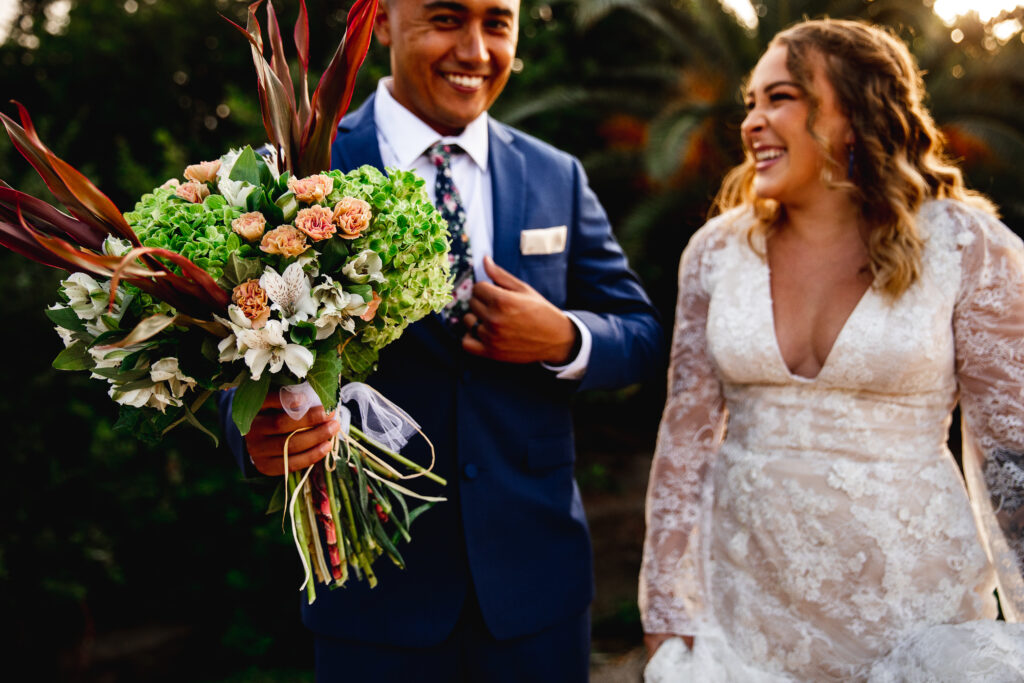

2. Now that you have an idea of what florals you love, get yourself down to your local Trader Joes and check out their entire wall of florals. If you are a So Cal local it’s also worth a trip to the the flower district in downtown Los Angeles. There are so many incredible vendors in the district that offer florals at whole sale cost. You’ll save a pretty penny and have a TON to choose from. This arrangement was designed and created by Jordan of https://www.palletpetal.com/ . She purchased all of her florals from the district 🙂
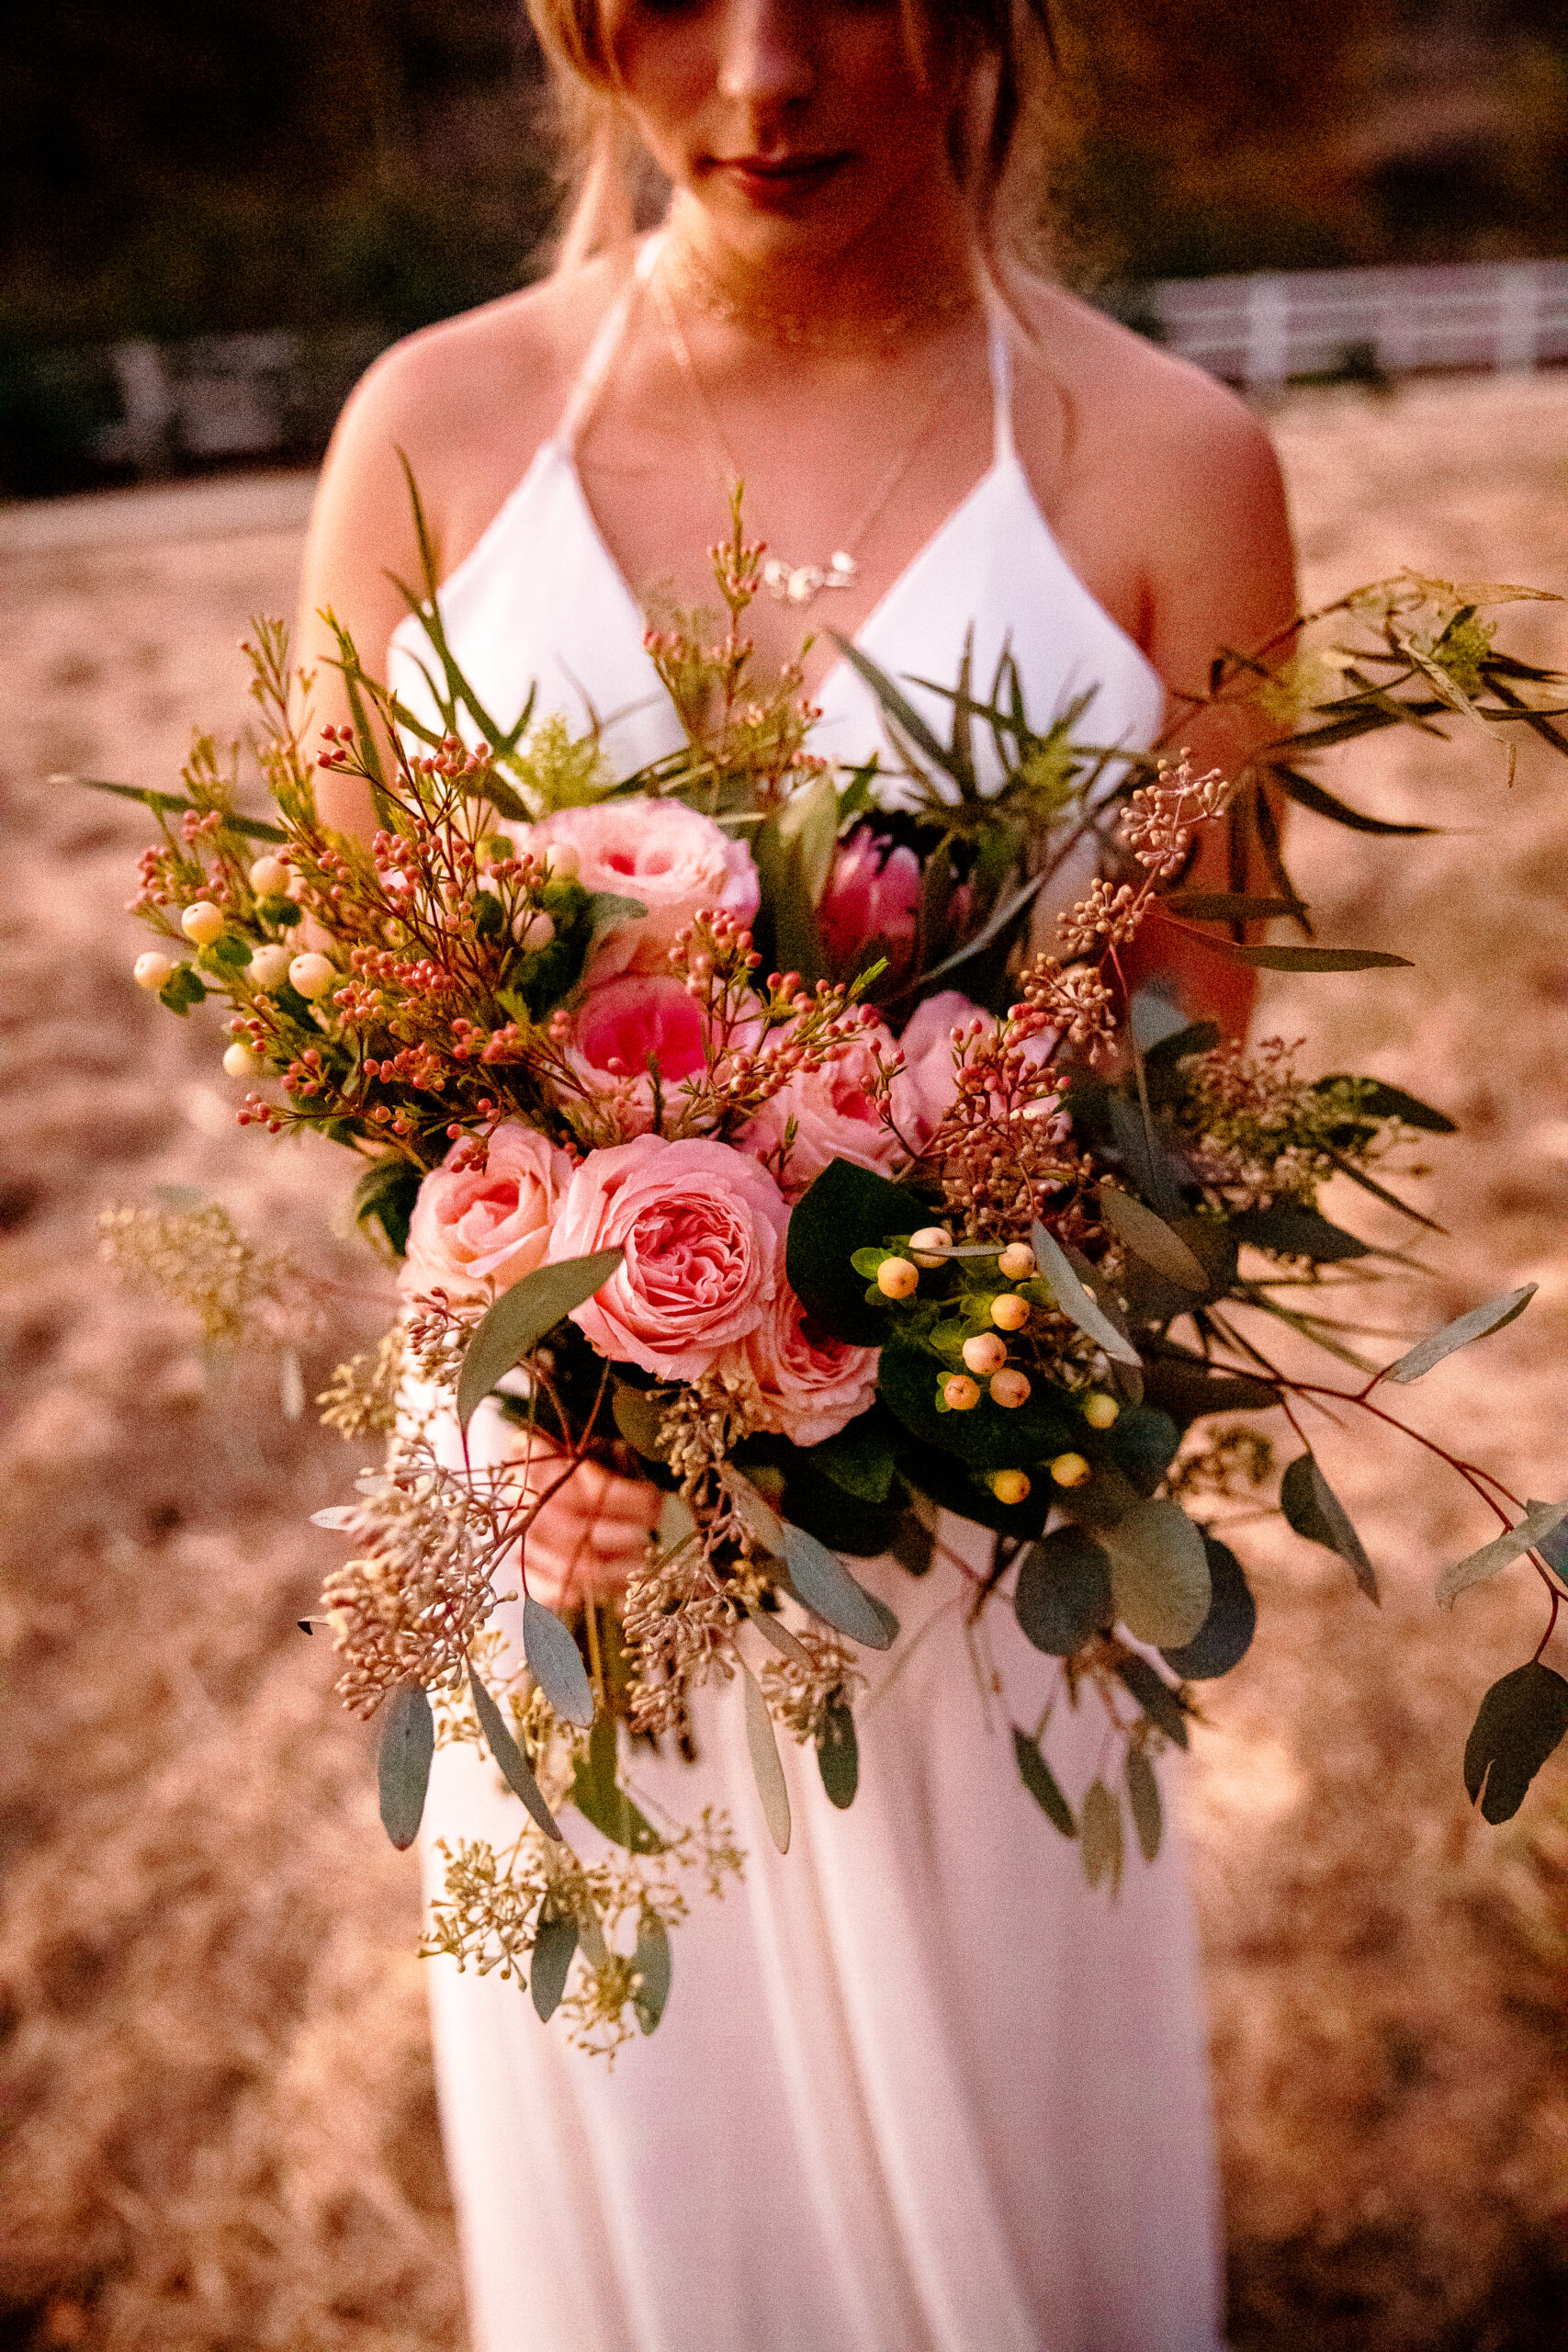
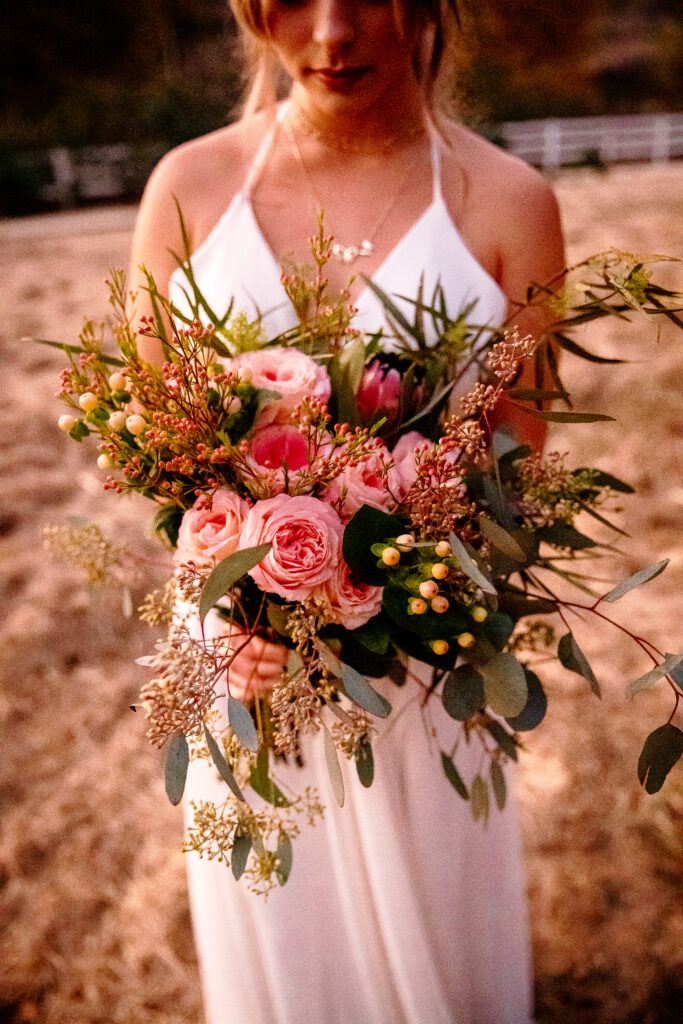
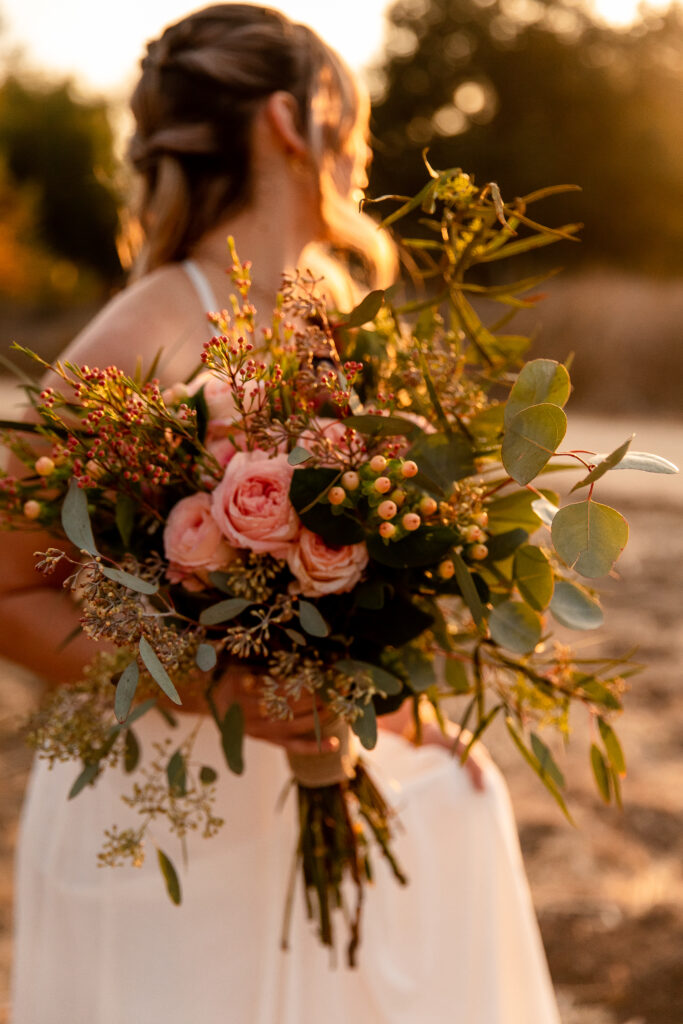
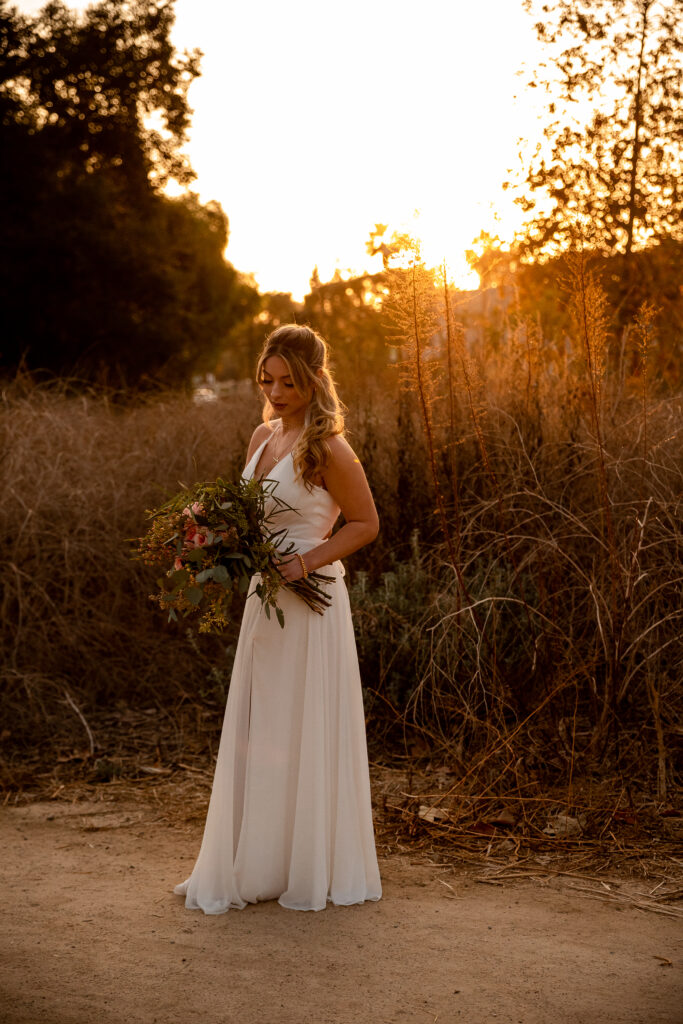
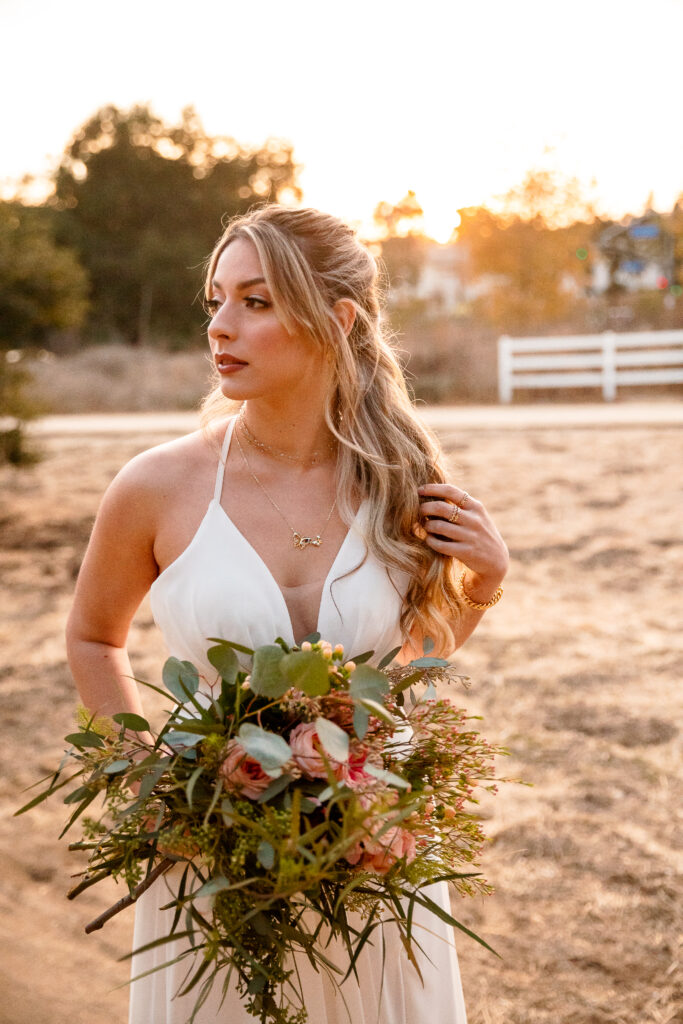
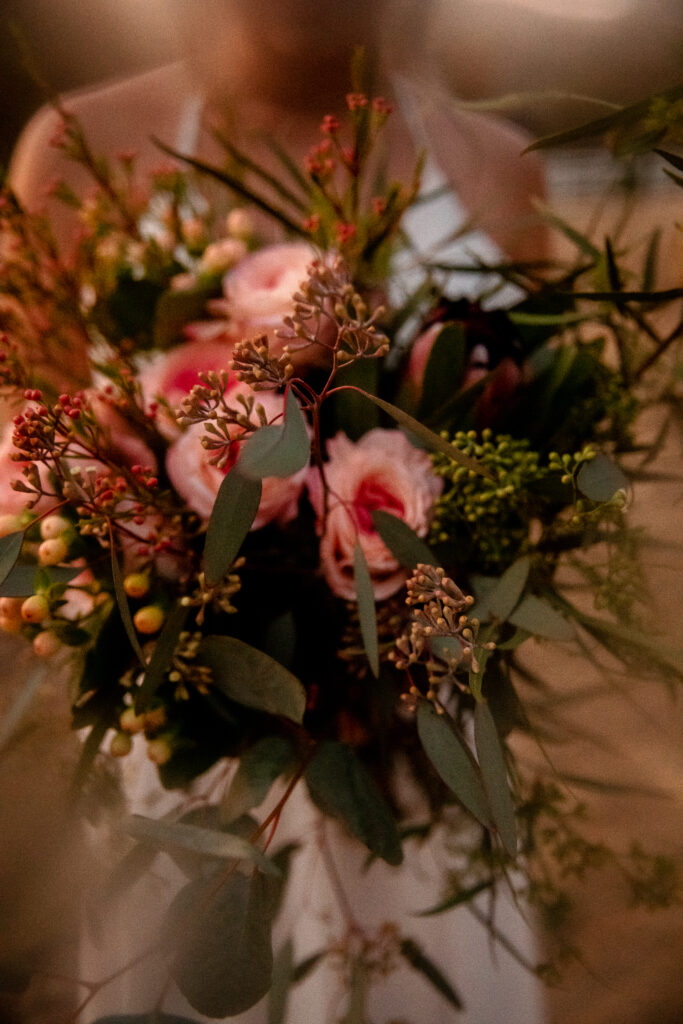
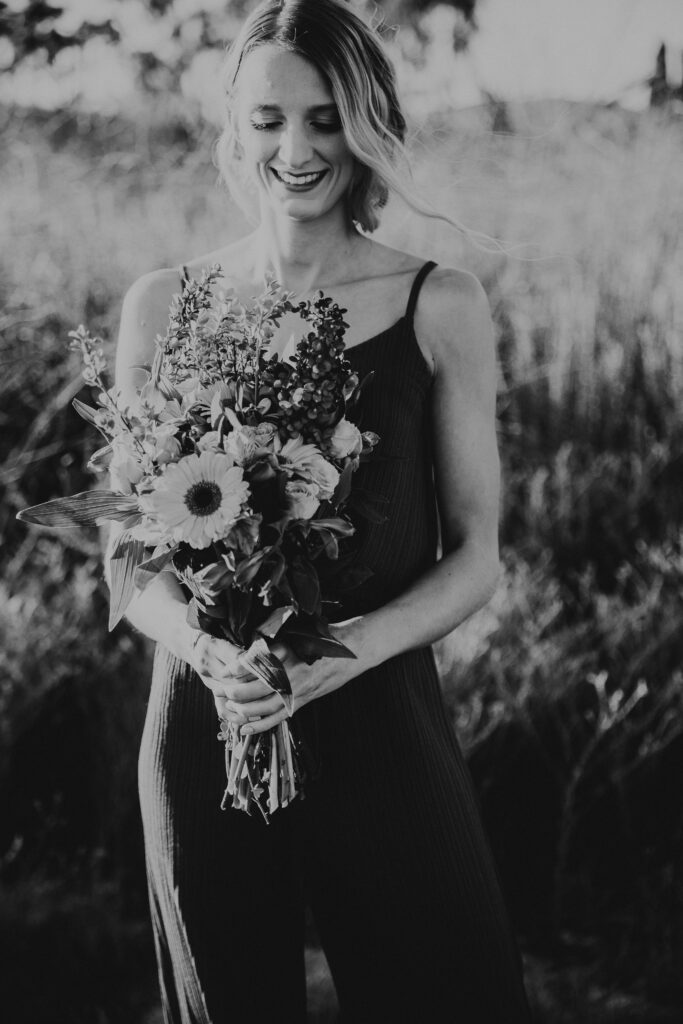
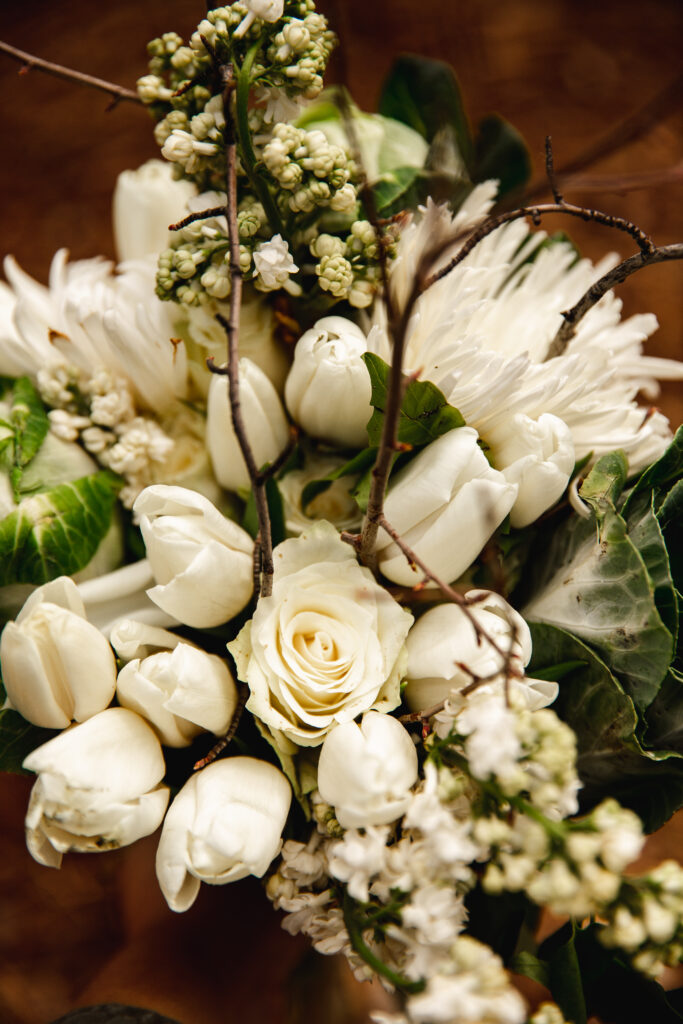
3. Now that you know what you want and where to go….it’s time to start arranging! I start with the larger headed flowers in the middle and build off of them and all around them. Make sure to keep and eye on the over all balance and structure of the bouquet. Add filler as well as your alternative blooms to create diversity in the arrangement. I will from time to time, turn my wrist and add where there needs to be holes filled. Pro tip: If you’re missing filler, walk outside and take a look around at what is available in nature. Clip responsibly and only take what you need :). For this bridal bouquet, I went with soft pinks and a boho, loosely styled feeling. I used my own tip and grabbed some branches from the bush that I literally parked next to when I arrived at my shoot location. It’s one of my all time favorite bouquets to date!
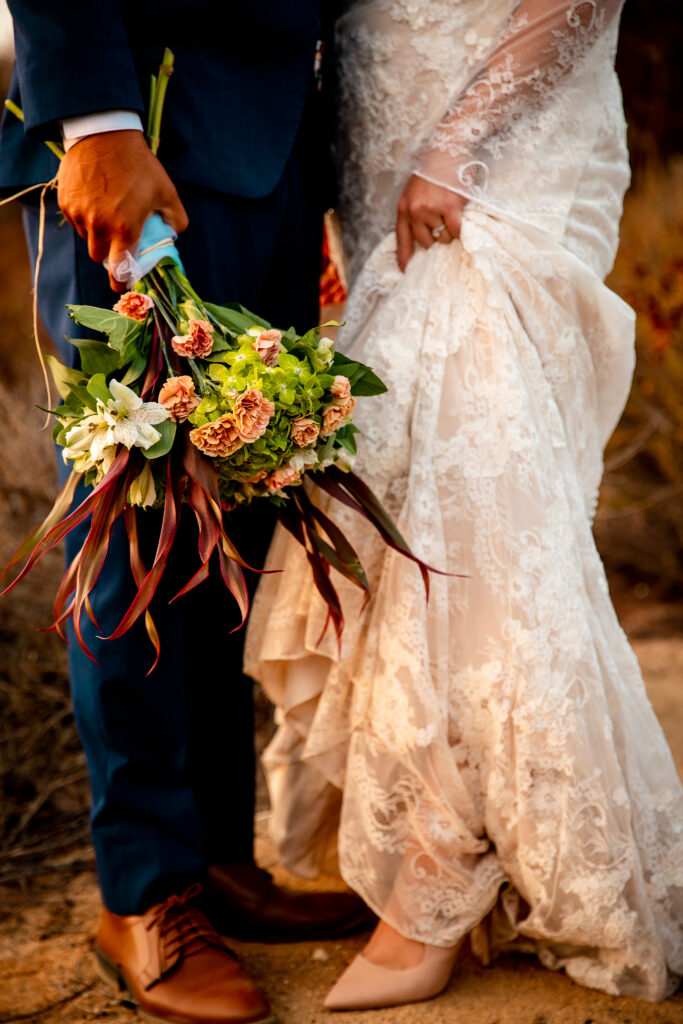
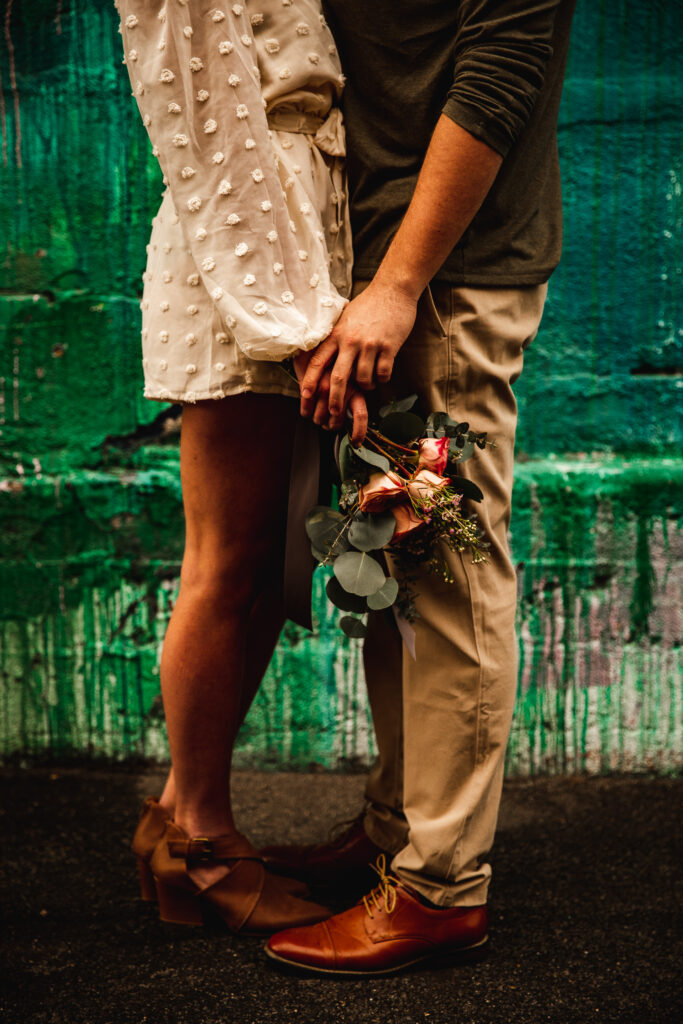
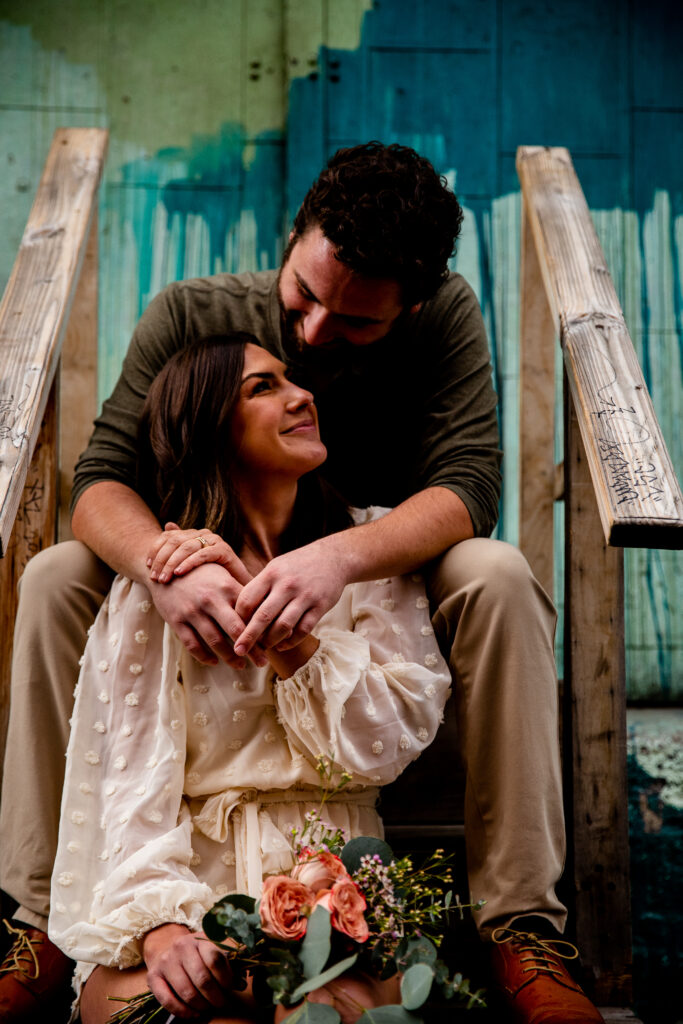
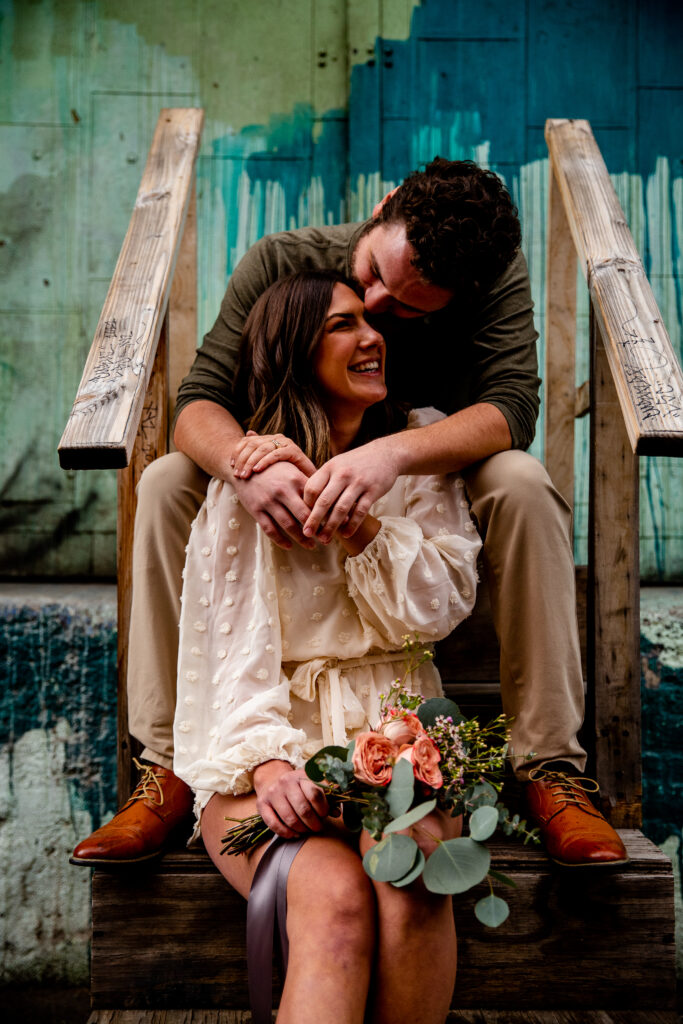
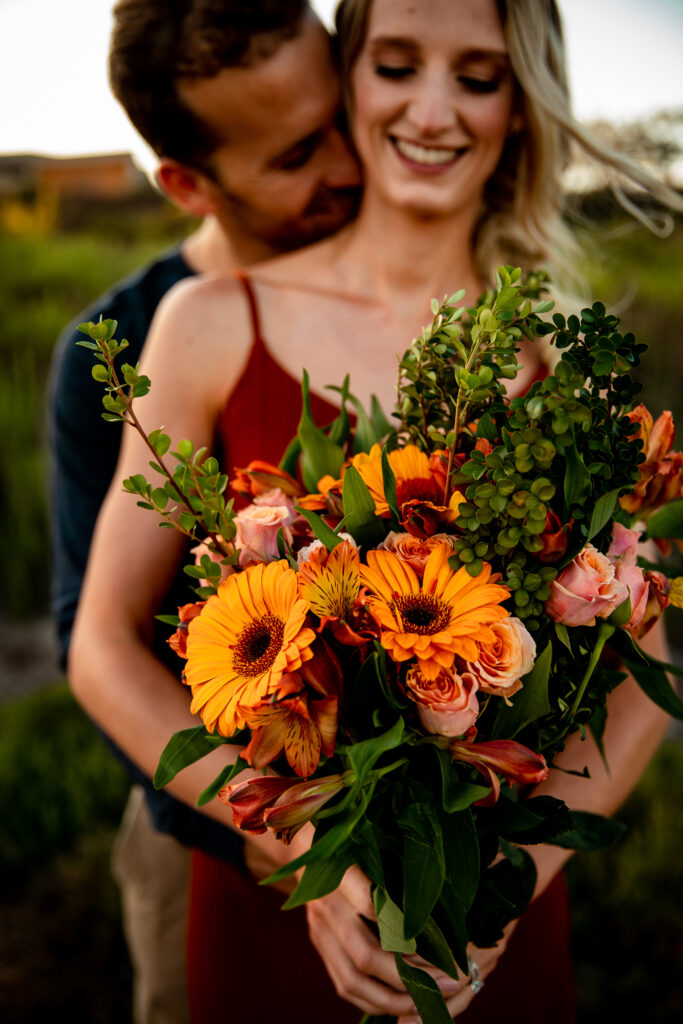
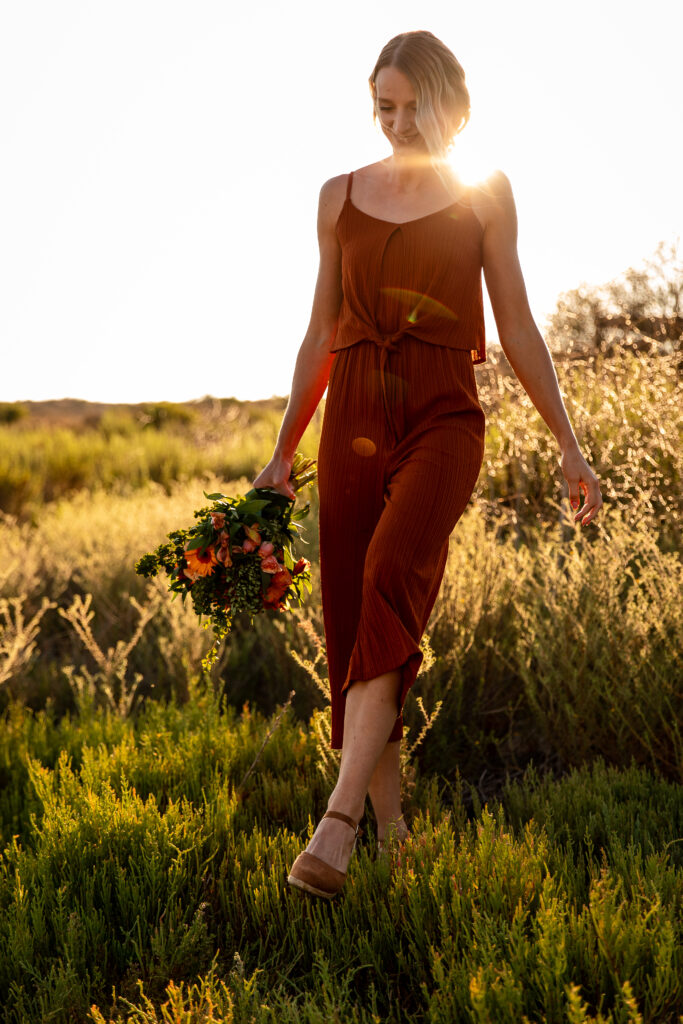
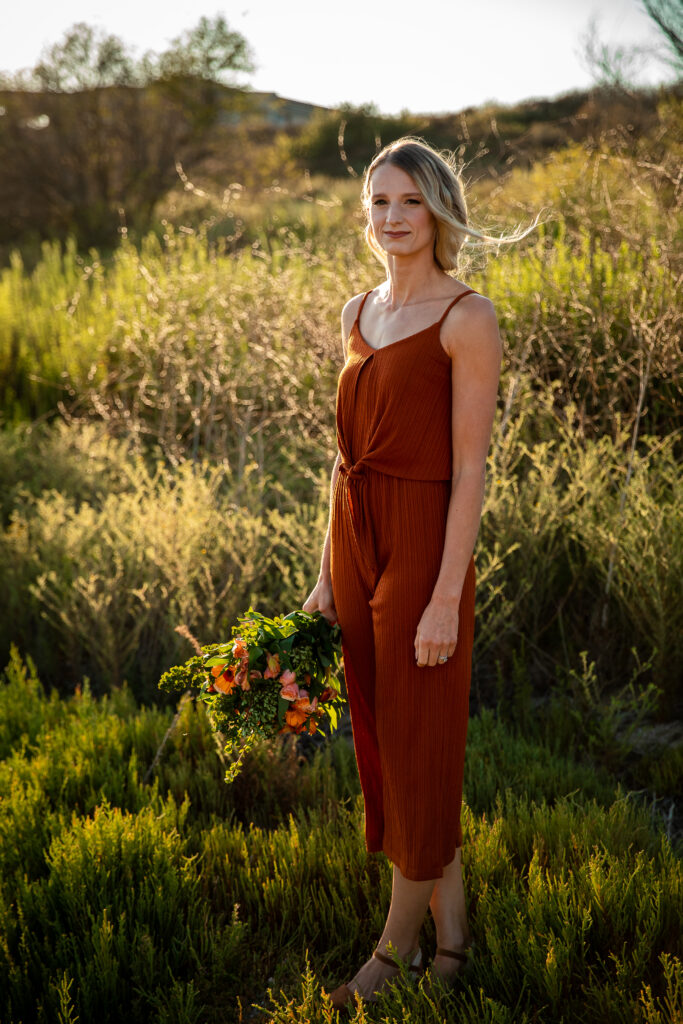
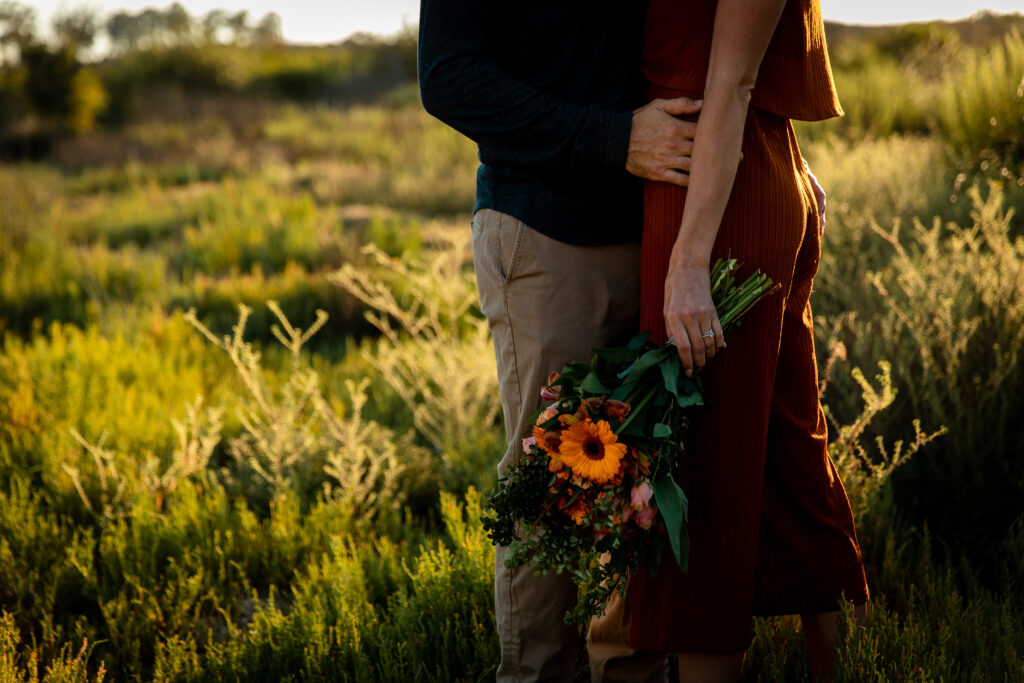
4. Now that your flowers are arranged, you will need to secure the arrangement. A simple trip to the dollar tree and a pair of scissors gets the job DONE. Typically, I will wrap the arrangement with a green, floral tape and then use something over it for a prettier aesthetic. I will use anything from raffia to ribbon to lace depending on the feeling of the elopement. You’ll want to make sure that you clip the bottoms of your stems for an even cut. Make sure to cut them at an upward angle to ensure the best opportunity for your flowers to drink when you’re finished with your shoot. For this engagement shoot, I went with burnt oranges and earth tones which complimented Hazel’s romper and Jesse’s blue Henley as well as the surrounding environment.
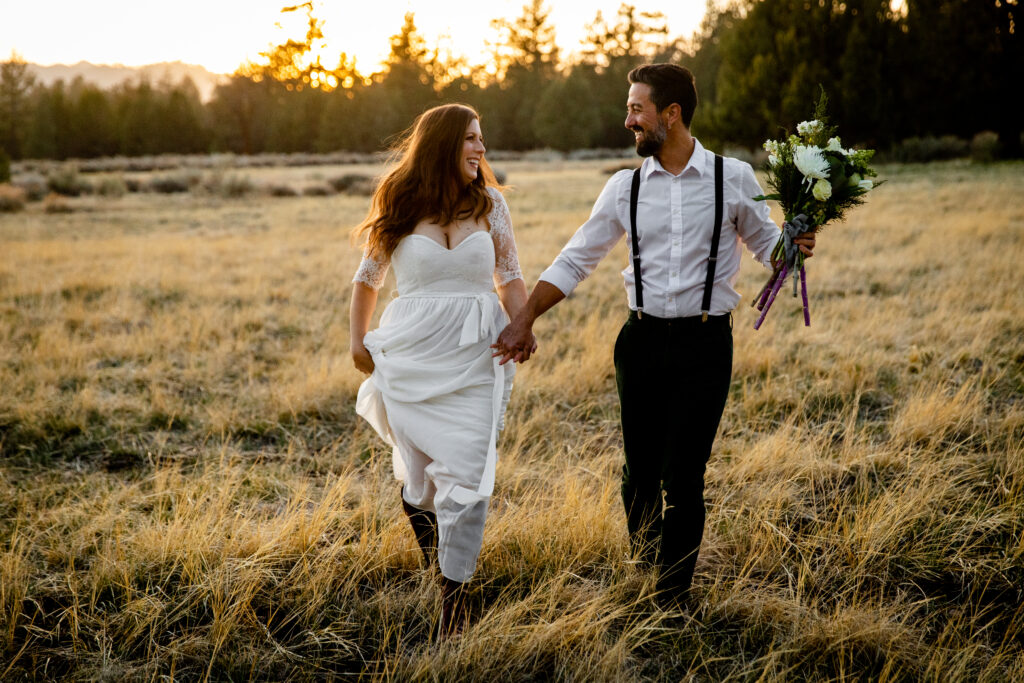
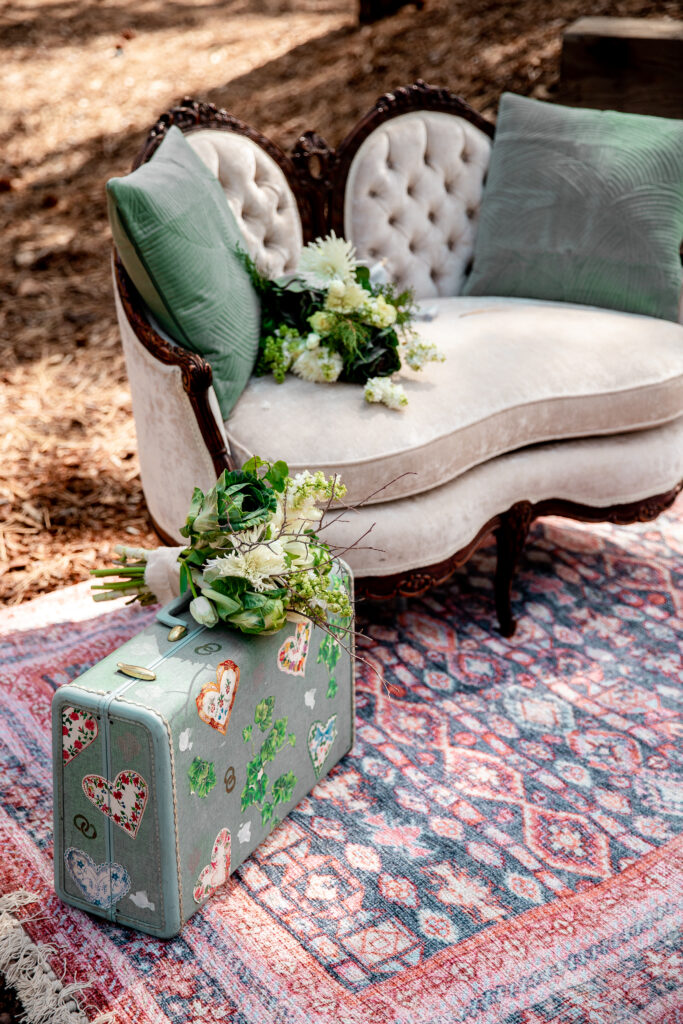
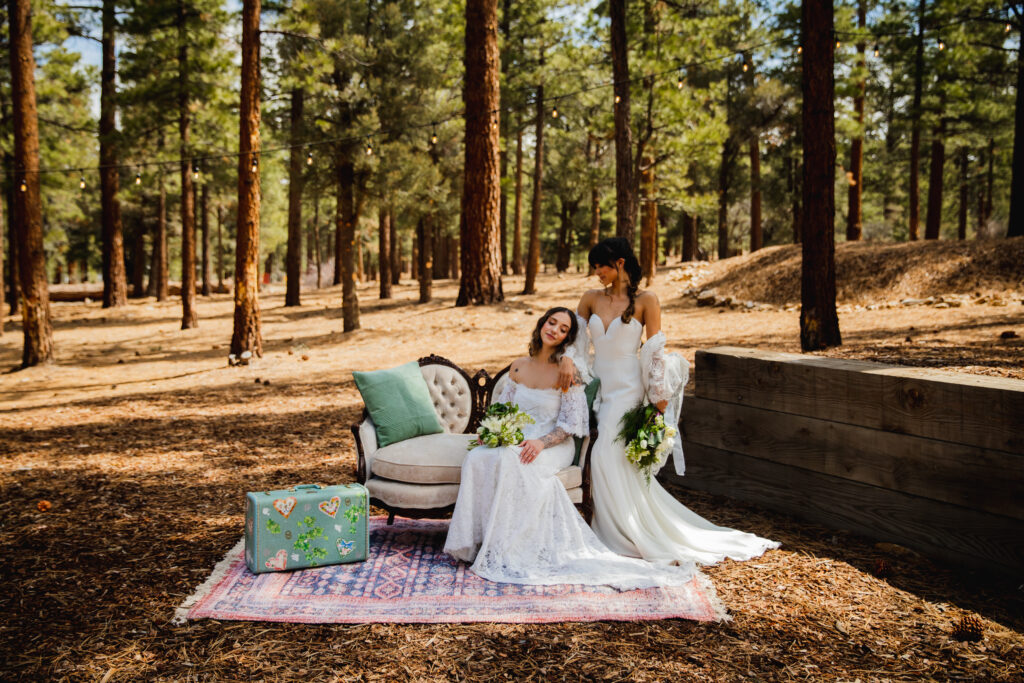
5. Step back and admire the amazing human you are. You DID this. You made this! How accomplished do you feel, right? Make sure that your photographer gets a bunch of photos of all the work you put into your arrangement. It will take you back to when you made the trip, chose the blooms and took the time to create something beautiful for your shoot. Pro tip: Make a fun afternoon with your partner or friends and do a trial arrangement run party. Everyone can get involved and make their own arrangements while you chat about your wonderful day to come! For these Big Bear elopements, I decided on creams and to really make the florals pop against the décor, as well as the environment. (Pro tip 2 :Pick your “something blue” by including a ribbon with the infamous color 🙂
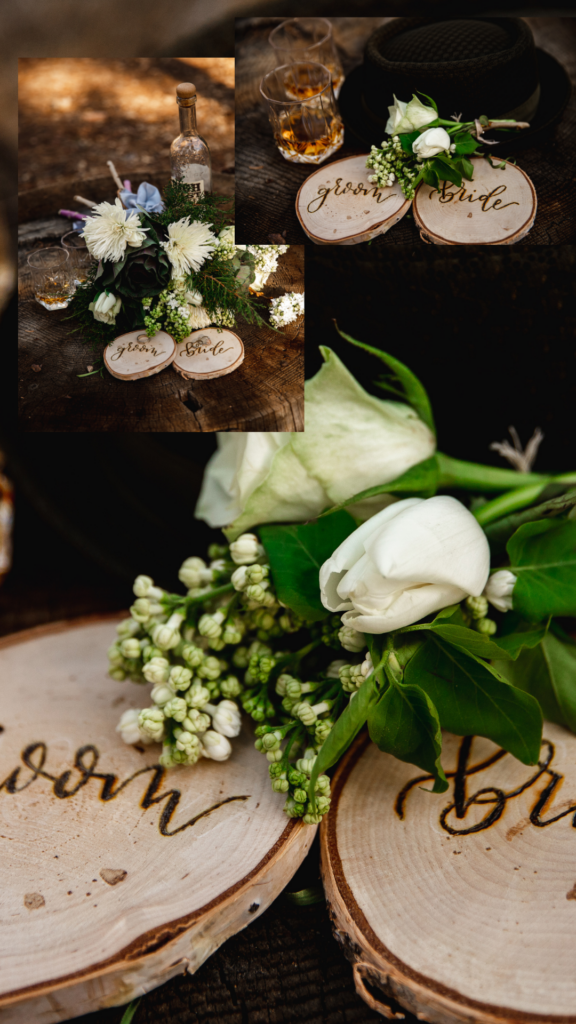
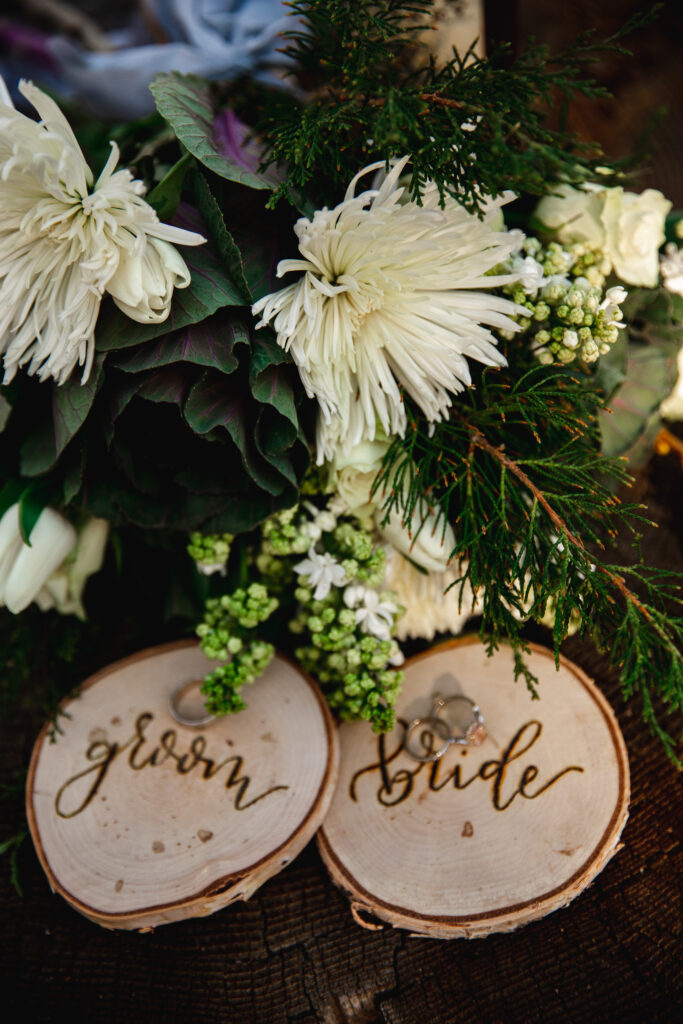
Furniture http://www.southernmagnoliavintagerentals.com Venue www.intothewoodsbb.com Calligraphy www.instagram.com/spilledinkcalligraphy
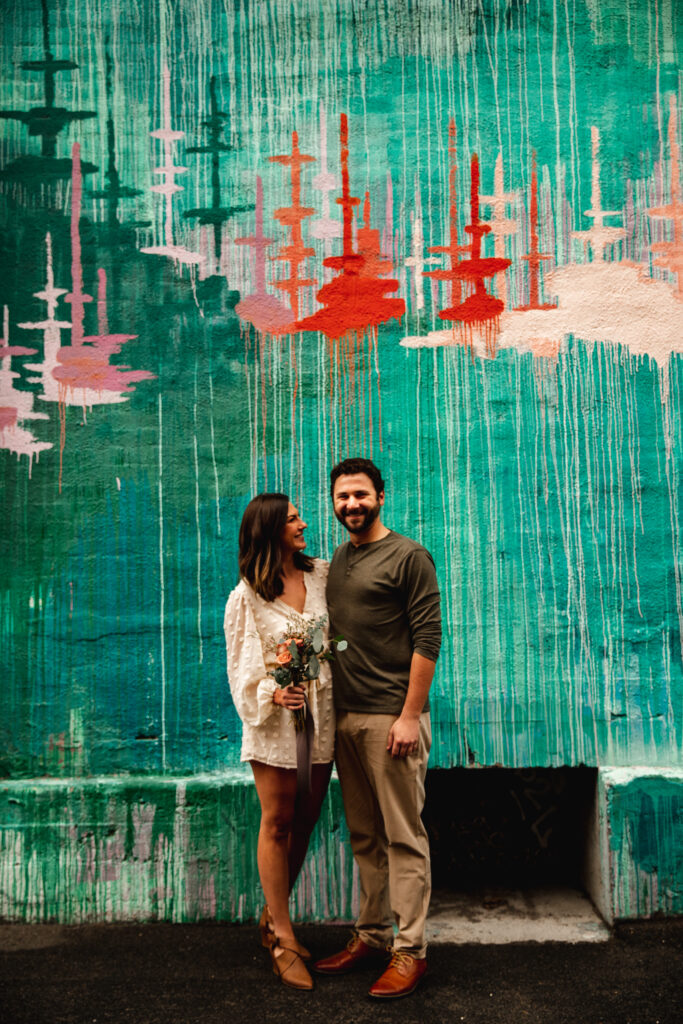
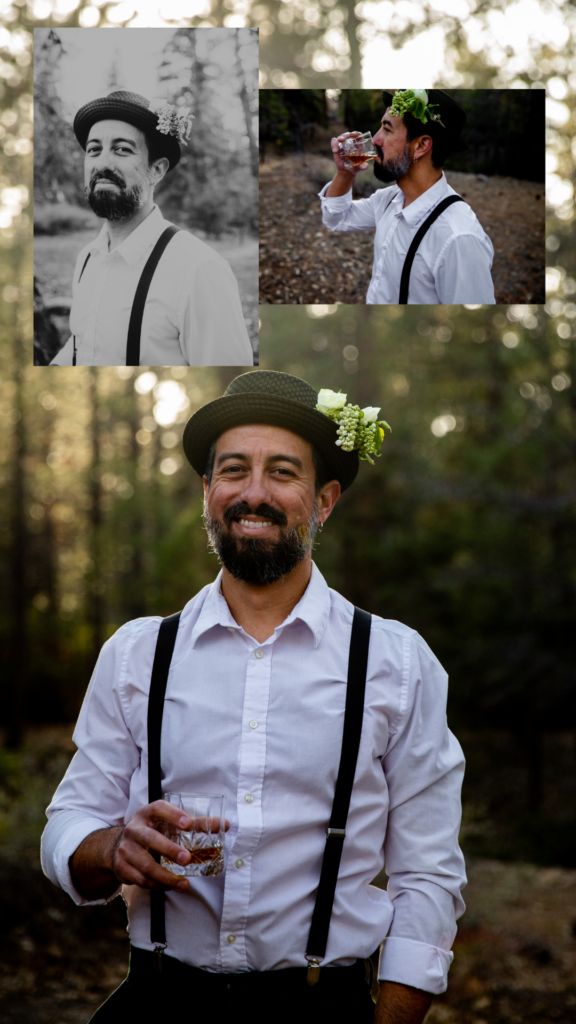
So…are you ready? What do you think? I think you got this. I also encourage you to think outside the box. Who said the groom needs a boutonniere? Why not a small arrangement on a hat or a pocket square? You could carry your florals in a purse or include a lantern? You can make your arrangements as large or as small as you like. This is your day after all….how will you make it that much more special?


")

")
")


These shots are lovely, and such great tips!!
So so happy you’re back, Tej! Thank you for swinging by the blog too 🙂
*runs to store to buy florals*! This is amazing, and STUNNING photos 😍😍
WHOO hooo!! Can’t wait to see what you make, my friend. I know it will be beautiful.
Wow! What great tips! Absolutely love the information!
Hi Dani!! Thanks for stopping by! This group is just the best 🙂